The Ultimate Guide to Cleaning a Whiteboard
I understand how frustrating it can be to clean whiteboards, especially when stubborn stains refuse to budge. For those who value cleanliness, this can be quite a burden. But worry not! After a decade in the office supplies industry, I’m here to share some tried-and-true tips on keeping your whiteboard spotless.
To clean a whiteboard, simply use a microfiber cloth or whiteboard eraser to wipe away dry-erase marker residue. For tougher stains, apply a whiteboard cleaner, isopropyl alcohol, or a solution of water and mild soap, then wipe clean. Regular maintenance helps keep your whiteboard looking fresh and functional.
In this blog post, we’ll cover the steps to clean a whiteboard, including how to remove dried ink and prevent ghosting. We’ll discuss various cleaning solutions like alcohol and vinegar, tips for whiteboard maintenance, and techniques for removing permanent marker stains. Get ready for a spotless whiteboard!

How to Clean a Whiteboard
Here are the steps on how to clean a Whiteboard:
Step 1: Gather Your Supplies
Before you start cleaning your whiteboard, gathering all the necessary supplies is essential. This preparation step will make the cleaning process smoother and more efficient.
What You’ll Need:
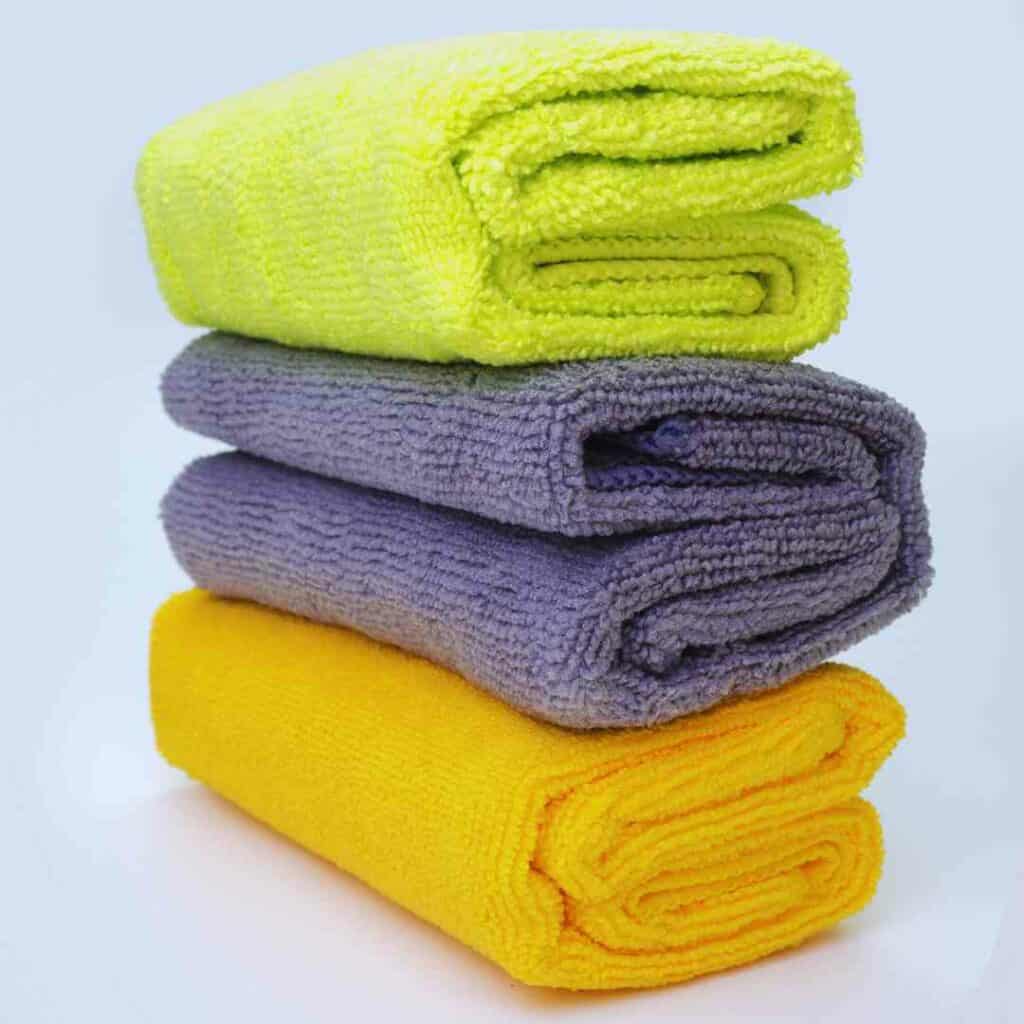
- Microfiber Cloth or Whiteboard Eraser: These tools are perfect for wiping away dry-erase marker residue without scratching the surface. Microfiber cloths are particularly effective because they trap dust and ink particles, leaving your board clean and streak-free.
- Whiteboard Cleaner or Mild Soapy Water: A good whiteboard cleaner can help dissolve ink and remove stubborn stains. If you don’t have a commercial cleaner on hand, a mixture of mild soap and water works just as well. Avoid harsh chemicals, as they can damage the surface of your whiteboard over time.
Having these items ready will ensure that you can tackle any type of stain or residue on your whiteboard. Now that you have everything you need, you’re ready to move on to erasing all marks and starting the cleaning process!
We will talk about other supplies you can use such as dry erase markers and isopropyl alcohol later. For now, these are the essentials. The others things will only be used on certain situations.

Step 2: Erase All Marks
Now that you’ve gathered your supplies, it’s time to start the actual cleaning process by erasing all visible marks on your whiteboard. This step is crucial as it helps you get rid of the bulk of the dry-erase marker residue, making the subsequent cleaning steps more effective.
How to Erase Properly:
- Use a Whiteboard Eraser or Microfiber Cloth: Begin by using a whiteboard eraser or a microfiber cloth to wipe away all the markings on your whiteboard. Make sure to cover the entire surface, working systematically from top to bottom or side to side. Microfiber cloths are highly recommended because they pick up ink particles efficiently without leaving lint behind.
- Apply Gentle Pressure: Don’t press too hard, as excessive force can damage the whiteboard surface. Use gentle, even pressure to remove the marks. If you encounter any resistant spots, don’t worry—we’ll address those in the following steps.
- Check for Residue: After wiping, check the board for any lingering ink or ghosting (faint marks left behind). Identifying these areas now will make it easier to focus on them during the deeper cleaning steps.
Remember to apply gentle pressure and use a microfiber or a whiteboard eraser as much as possible. Ordinary towel cloth may look effective but scratches on the whiteboard may make it harder for you to clean your whiteboard in the future since the ink can go in between the scratches.
We will discuss how to remove hard-to-remove stains or ghosting later.
Understanding Ghosting
Before diving deeper into the cleaning process, it’s important to understand a common issue that many whiteboard users face: ghosting. Ghosting refers to the faint, residual marks or outlines that remain on a whiteboard even after you’ve erased the primary writing. These ghostly traces are often caused by the buildup of ink and can make your whiteboard look dirty and cluttered, even after a cleaning session.
Why Does Ghosting Happen?
- Ink Buildup: Over time, the ink from dry-erase markers can leave behind residues that are difficult to remove completely. The ink can embed itself into the whiteboard surface, especially if the board isn’t cleaned regularly.
- Improper Erasing: Using the wrong type of eraser or not wiping off ink properly can also contribute to ghosting. Inconsistent or insufficient erasing can leave behind faint traces of the marker.
How to Address Ghosting:
Generally speaking, we address ghosting by applying a whiteboard cleaner or a solution of water and mild soap onto the board. Avoid using harsh chemicals.
We will discuss this in step 3 and 5.
Step 3: Apply Cleaning Solution
With the majority of the dry-erase marker residue erased, it’s time to give your whiteboard a deeper clean using a cleaning solution. This step is crucial for removing any remaining ink and ensuring your whiteboard stays in top-notch condition.
Choosing Your Cleaning Solution:
- Whiteboard Cleaner: A commercial whiteboard cleaner is specifically formulated to tackle marker residue and stains effectively. It’s designed to be gentle on your whiteboard while providing a thorough clean.
- DIY Whiteboard Cleaner: In my experience, you don’t need to buy a Whiteboard Cleaner since majority of it is only Isopropyl alcohol. Simply use Rubbing or Isopropyl Alcohol to the Ghosting and it can remove them with ease.
- Mild Soapy Water: If you don’t have a whiteboard cleaner handy, you can easily make your own solution. Mix a few drops of mild dish soap with water in a spray bottle. This solution is gentle yet effective in breaking down ink residue.
Recommended Read: I created a detailed blog post discussing the use of alcohol in cleaning whiteboards here: How to use Alcohol and Hand Sanitizer in cleaning whiteboards
How to Apply:
- Spray the Solution: Lightly spray your chosen cleaning solution onto the whiteboard. Be careful not to oversaturate the surface; a light mist is usually sufficient. If you’re using soapy water, a few sprays will do the trick.
- Focus on Problem Areas: Pay special attention to areas with stubborn stains or ghosting. Spraying a bit more solution on these spots can help break down the ink and make it easier to wipe away.
- Avoid Harsh Chemicals: Stay away from abrasive cleaners or harsh chemicals like bleach, as these can damage the whiteboard surface and reduce its lifespan.
By applying a suitable cleaning solution, you’re setting the stage for a spotless and well-maintained whiteboard. This step ensures that any lingering residue is loosened and ready to be wiped away in the next step.
Step 4: Wipe the Board
With your cleaning solution applied, it’s time to wipe down your whiteboard. This step is crucial for removing the loosened ink and residue, leaving your board clean and ready for use.
How to Wipe Effectively:
- Use a Clean Cloth: Grab a clean microfiber cloth, which is ideal for this task because it traps dust and ink particles without leaving lint behind. If you’re using a paper towel, make sure it’s not too rough to avoid scratching the surface.
- Wipe in Circular Motions: Gently wipe the board in circular motions. This technique helps to lift the ink and cleaning solution from the surface evenly. Start from one corner and work your way across the board to ensure you cover the entire area.
- Check for Residual Ink: After wiping, inspect the board for any remaining ink or stains. If you spot any areas that need extra attention, apply a bit more cleaning solution and repeat the wiping process.
By thoroughly wiping the board, you’re removing the majority of the residue and preparing the surface for the final touches. This step ensures that the cleaning solution does its job effectively, leaving your whiteboard clean and clear.
Now, it’s time to check if there are still ghosting left. We do not want to leave those as it will become harder to remove them the longer you let them stay in the board. We will now move to step 5.

Step 5: Remove Dried Ink and Stubborn Stains
Even after a thorough cleaning, you might still encounter dried ink or stubborn stains on your whiteboard. This step is designed to tackle those persistent marks and ensure your board is completely clean.
How to Handle Dried Ink and Stubborn Stains:
- Use a Dry-Erase Marker: For dried ink or ghosting, take a dry-erase marker and color over the stubborn stains. This method works because the fresh ink can dissolve and lift the old ink from the surface. Once you’ve covered the stain with the dry-erase marker, immediately wipe it off with a clean microfiber cloth. This technique often helps in removing residual marks that regular cleaning might miss.
- Apply Isopropyl Alcohol (if needed): If stains still persist, dampen a cloth with isopropyl alcohol. Gently rub the affected areas with the alcohol-soaked cloth. Isopropyl alcohol is effective in breaking down tough ink stains, but use it sparingly to avoid damaging the whiteboard surface. Always test a small, inconspicuous area first to ensure it doesn’t affect the board’s finish.
By addressing dried ink and stubborn stains carefully, you’ll ensure that your whiteboard is left looking fresh and new. This step is key to achieving a completely clean surface, free from any lingering marks or discoloration.

Step 6: Rinse and Dry
After tackling dried ink and stubborn stains, it’s time to finalize the cleaning process by rinsing and drying your whiteboard. This step ensures that any remaining cleaning solution or alcohol residue is removed, leaving your board spotless and ready for use.
How to Rinse and Dry Properly:
- Rinse the Board: If you use soap or isopropyl alcohol during the cleaning process, it’s important to rinse the board to remove any leftover residue. Dampen a clean cloth with plain water and gently wipe down the entire surface. This helps to remove any traces of soap or alcohol that might still be on the board.
- Dry Thoroughly: Use a clean, dry microfiber cloth to wipe the board dry. Ensure to remove all moisture from the surface to prevent streaks and ensure the board is completely dry. A dry board is essential for the best writing experience and to avoid any potential smudging.
- Check for Residue: After drying, inspect the board one last time for any remaining streaks or spots. If necessary, do a quick pass with a dry cloth to ensure everything is perfectly clean.
By rinsing and drying your whiteboard thoroughly, you’ll ensure a pristine finish and maintain the board’s functionality. This final step is key to achieving a professional and clean look, making your whiteboard ready for its next use.
Step 7: Maintain Regularly
To keep your whiteboard in top condition and extend its lifespan, regular maintenance is key. Consistent care not only ensures a clean and clear writing surface but also helps prevent common issues like ghosting and stubborn stains.
How to Maintain Your Whiteboard:
- Daily Wipe-Down: Make it a habit to wipe your whiteboard at the end of each day. Use a clean microfiber cloth or whiteboard eraser to remove all markings. This daily routine prevents ink buildup and reduces the chance of ghosting.
- Alternative Wiping Schedule: If daily wiping isn’t feasible, aim to wipe your whiteboard at least every 3 days. This helps prevent the ink from drying out and becoming more difficult to remove, keeping the board in better condition.
- Weekly Deep Cleaning: Perform a more thorough cleaning once a week or as needed. Follow the steps outlined earlier, including applying a cleaning solution, tackling stubborn stains, and ensuring the board is properly rinsed and dried.
- Avoid Using Permanent Markers: Refrain from using permanent markers on your whiteboard. If permanent ink accidentally gets on the board, address it promptly using the techniques mentioned for removing stubborn stains.
- Store Markers Properly: Keep your dry-erase markers capped and stored horizontally. This prevents the ink from drying out and ensures they write smoothly when used.
- Use Whiteboard-Friendly Products: Stick to cleaning solutions and markers specifically designed for whiteboards. Harsh chemicals or inappropriate cleaning products can damage the surface over time.
- Check for Damage: Regularly inspect your whiteboard for any signs of damage or wear. Addressing issues like cracks or discoloration early can prevent further deterioration.
By incorporating these maintenance tips into your routine, you’ll keep your whiteboard looking fresh and functioning optimally. Regular care not only enhances the board’s appearance but also ensures it remains a valuable tool for your notes and ideas.
Following these steps will help keep your whiteboard in excellent condition and ready for use!
But what if you accidentally used a permanent marker? How will you clean your Whiteboard? Keep reading to find out.

What Can I Use to Clean a Whiteboard?
Does Alcohol Clean Whiteboards?
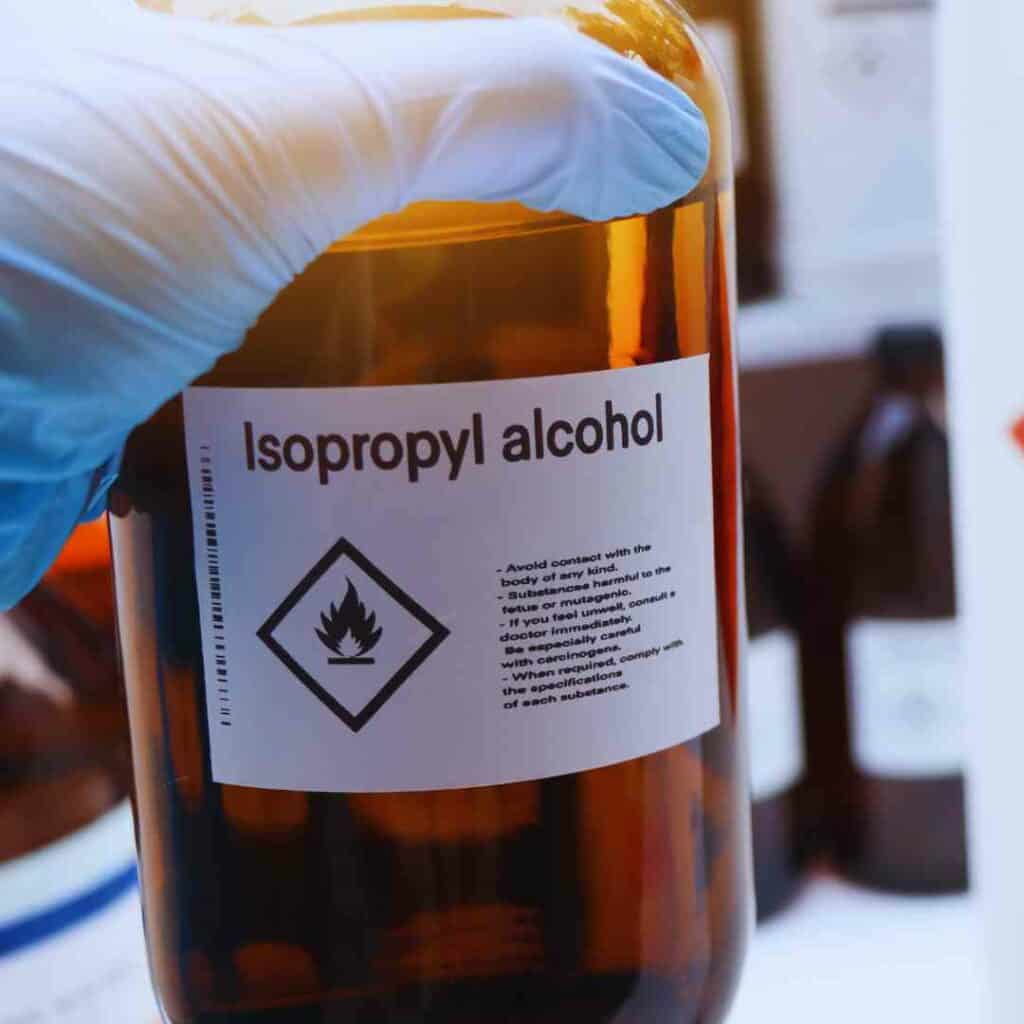
Effectiveness of Isopropyl Alcohol: Isopropyl alcohol, commonly known as rubbing alcohol, is effective at cleaning whiteboards. It dissolves dry-erase marker ink, making it easier to wipe away stains and residue. The alcohol’s quick evaporation rate helps prevent streaks and ensures a clear writing surface.
Effectiveness of Ethyl Alcohol: Ethyl alcohol, also known as ethanol, is another type of alcohol that can be used to clean whiteboards. Similar to isopropyl alcohol, ethyl alcohol effectively dissolves marker ink and removes stains. It is often found in commercial cleaning products and can be used in the same manner as isopropyl alcohol.
Pros and Cons of Using Alcohol:
- Pros: Both isopropyl and ethyl alcohol are strong solvents that can efficiently remove stubborn stains and dried ink. They dry quickly and do not leave residue, making them effective for maintaining a clean writing surface.
- Cons: Frequent use of alcohol (both isopropyl and ethyl) can potentially damage the whiteboard surface over time. It may strip away protective coatings, leading to increased ghosting or wear.
Best Practices for Application: To use isopropyl or ethyl alcohol safely, dampen a clean cloth with the alcohol and gently rub the stained areas. Avoid over-saturating the board and use alcohol sparingly to prevent damage. Always test a small, inconspicuous area first to ensure it doesn’t adversely affect the board.
Common Question: Why do I often see Isopropyl alcohol recommended instead of Ethyl Alcohol?
You might be wondering why Isopropyl alcohol is recommended in cleaning whiteboards instead of ethyle alcohol even if both of them works.
Ethyl alcohol and isopropyl alcohol both clean whiteboards effectively, but isopropyl alcohol is more commonly recommended. Ethyl alcohol is generally more expensive and does the same job, making isopropyl the more popular choice for budget-conscious and efficient cleaning.
Does Alcohol Ruin Whiteboards?
Potential Risks of Frequent Alcohol Use: While alcohol is effective for cleaning, excessive use can be harmful. Over time, it may break down the whiteboard’s surface, causing discoloration or reduced writing quality. Prolonged exposure can also diminish the board’s ability to erase cleanly.
Long-Term Effects on Whiteboard Surface: Repeated application of alcohol can lead to surface degradation, resulting in ghosting and a reduced lifespan of the whiteboard. The solvent can erode the protective coating, making the surface more susceptible to damage.
Tips for Safe Use: To minimize risks, limit the use of alcohol to occasional deep cleaning. Regular maintenance with milder cleaning methods is recommended. Ensure proper ventilation when using alcohol and always follow up with a thorough rinse and drying process.
Does Vinegar Clean Whiteboards?
How Vinegar Works as a Cleaning Agent: White vinegar is a natural and mild acid that can effectively clean whiteboards. It breaks down marker ink and helps remove stains without harsh chemicals. Vinegar is a more eco-friendly option and is readily available in most households.
Advantages of Using Vinegar:
- Advantages: Vinegar is non-toxic, inexpensive, and gentle on the whiteboard surface. It’s a good alternative for those who prefer natural cleaning solutions.
- Disadvantages: Vinegar may not be as effective on very stubborn stains or dried ink compared to stronger chemicals. It may also leave a slight odor that dissipates over time.
How to Use Vinegar for Cleaning: To use vinegar, mix equal parts of white vinegar and water in a spray bottle. Spray the solution onto the whiteboard and wipe with a clean cloth. For tougher stains, let the solution sit for a few minutes before wiping.
Recommended Read: I created a full guide on using vinegar on whiteboard including its pros and cons, applying vinegar solution, and its safety in whiteboards, you may read it here: Does Vinegar Clean Whiteboards?
Does Hand Sanitizer Clean Whiteboards?
Effectiveness of Hand Sanitizer in Removing Ink: Hand sanitizer, particularly those with high alcohol content, can clean whiteboards effectively. It can dissolve and lift ink residue, similar to isopropyl alcohol. This makes it a convenient option for quick touch-ups.
Pros and Cons of Using Hand Sanitizer:
- Pros: Hand sanitizer is readily available and easy to use. It’s effective for removing ink and can be handy in situations where other cleaners aren’t available.
- Cons: Regular use can leave behind a sticky residue, and some sanitizers may contain additional ingredients that could affect the whiteboard surface.
Application Tips and Precautions: Apply a small amount of hand sanitizer to a clean cloth and gently rub the stained areas. Avoid overusing, and ensure that you wipe the board thoroughly with a damp cloth afterward to remove any residual stickiness.
Can WD-40 Be Used to Clean Whiteboards?
How WD-40 Works for Whiteboard Cleaning: WD-40 is a versatile lubricant that can also be used to clean whiteboards. It helps dissolve marker ink and can remove stubborn stains and ghosting. Its oily nature allows for effective lifting of ink from the surface.
Benefits and Risks of Using WD-40:
- Benefits: WD-40 can be effective for tough stains and is useful in removing dried ink. It’s a strong solvent that can handle challenging cleaning tasks.
- Risks: The oily residue left by WD-40 can attract dust and dirt, making the board prone to collecting grime. Frequent use can also degrade the whiteboard surface over time.
Recommended Application Method: To use WD-40, spray a small amount onto a cloth and gently rub the affected areas. Avoid over-applying, and follow up by wiping the board with a clean, damp cloth to remove any leftover residue. Ensure thorough rinsing to prevent buildup and ensure a clean writing surface.

Preventing Stains and Ghosting
A clean whiteboard is essential for effective communication and brainstorming. To maintain a pristine surface and avoid frustrating stains and ghosting, it’s crucial to adopt some simple practices. By using quality markers, erasing regularly, and following proper cleaning techniques, you can keep your whiteboard looking fresh and clear.
- Use High-Quality Markers:
- Opt for high-quality dry-erase markers that are less likely to leave stains and ghosting. Cheaper markers often contain ink that can be harder to erase and prone to leaving residue.
- Erase Regularly:
- Wipe the whiteboard at the end of each day or at least every 3 days. Frequent wiping prevents ink from setting into the board and helps avoid stubborn stains and ghosting.
- Avoid Permanent Markers:
- Keep permanent markers away from the whiteboard. If permanent ink is accidentally used, remove it immediately using the appropriate cleaning method to prevent long-term damage.
- Use the Right Eraser:
- Choose a clean, high-quality whiteboard eraser. Avoid using abrasive materials that can scratch the surface. Regularly clean the eraser to prevent it from transferring old ink back onto the board.
- Clean the Board Properly:
- When cleaning, use a whiteboard cleaner or a solution of mild soap and water. Avoid harsh chemicals that can damage the board’s surface. Ensure that the board is completely dry after cleaning to prevent any new stains or ghosting.
By following these tips, you can effectively prevent stains and ghosting, keeping your whiteboard in pristine condition and ensuring a clear and effective writing surface.
How To Get Permanent Marker Off A White Board?
Accidents happen, and sometimes permanent marker makes its way onto your whiteboard. Don’t worry—there are several effective methods to remove these stubborn marks. Whether you’re dealing with an inadvertent scribble or an old stain, these techniques will help restore your whiteboard to its pristine state.
- Use a Dry-Erase Marker:
- Apply: Draw over the permanent marker stains with a dry-erase marker. The fresh ink will help dissolve the old ink.
- Erase: Wipe both the dry-erase and permanent marker ink off with a clean, dry microfiber cloth or whiteboard eraser.
- Try Rubbing Alcohol:
- Apply: Dampen a cloth with isopropyl alcohol.
- Rub: Gently rub the stained area until the permanent marker ink starts to dissolve.
- Wipe: Clean the area with a dry cloth and repeat if necessary.
- Use a Whiteboard Cleaner:
- Apply: Apply a commercial whiteboard cleaner designed for tougher stains.
- Follow Instructions: Use as directed, usually involving spraying the cleaner and wiping it off with a clean cloth.
- Vinegar Solution:
- Mix: Combine equal parts white vinegar and water in a spray bottle.
- Apply: Spray the solution on the stains and let it sit for a few minutes.
- Wipe: Gently scrub with a cloth and then wipe clean.
- Magic Eraser:
- Wet: Lightly moisten a magic eraser with water.
- Rub: Gently rub the permanent marker stains until they are removed.
- Clean: Wipe down the board with a damp cloth to remove any residue.
By using these methods, you can effectively remove permanent marker stains and keep your whiteboard in top condition.
I will create a more thorough post about removing permanent market in your whiteboard in the future. Stay tuned!
Recommended Read: For a detailed blog post on How to Get Permanent Marker Off a Whiteboard, please check my other blog post.